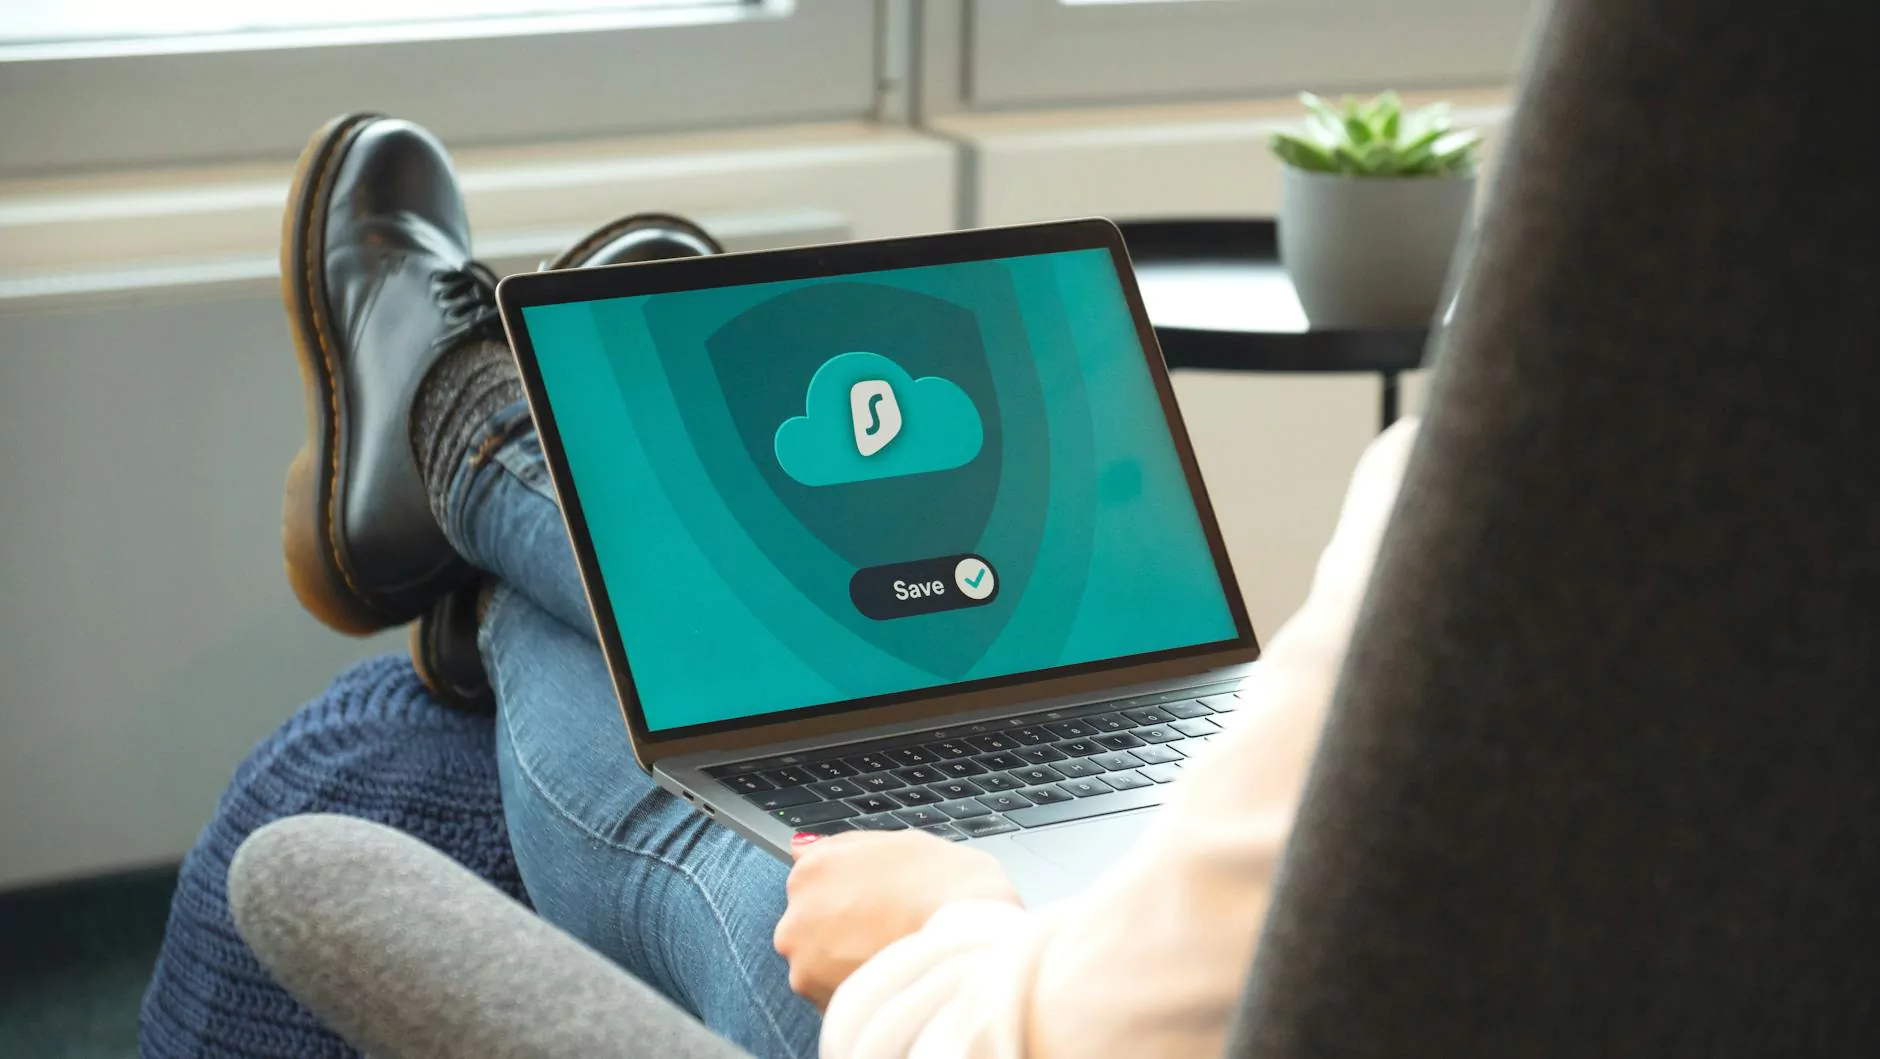
Ultimate Guide to Setup VPN Server on Mac | Enhance Your Internet Security and Privacy
In an era where digital security and online privacy are more vital than ever, setting up a VPN server on Mac has become an essential step for individuals and businesses aiming to safeguard their data. With the proliferation of cyber threats, data breaches, and the increasing importance of remote work, understanding how to establish a secure Virtual Private Network (VPN) directly on your Mac device empowers you to take control of your internet security.
Understanding the Importance of Setting Up Your Own VPN Server on Mac
Launching your own VPN server on Mac provides numerous advantages that go beyond the basic VPN services offered by third-party providers. It grants you full control over your data, ensures enhanced privacy, and allows for tailored configurations to meet specific security requirements. Whether you're seeking to access your home network remotely, protect sensitive business communications, or bypass geographic restrictions, a self-hosted VPN is an invaluable tool.
Key Benefits of Creating a VPN Server on Mac
- Enhanced Security: Protect sensitive data from hackers and cyber espionage by encrypting your internet traffic.
- Improved Privacy: Mask your real IP address and location, preventing trackers from monitoring your online activities.
- Remote Access: Seamlessly connect to your home or office network from anywhere in the world.
- Cost-Effective: Save money on third-party VPN subscriptions by hosting your own server.
- Customization: Configure the VPN according to your specific needs, including protocols, security standards, and user access.
- Bypass Geo-Restrictions: Access content restricted to certain regions without third-party interference.
Prerequisites for Setting Up a VPN Server on Mac
Before diving into the setup process, ensure you have the following:
- Mac Computer: Running macOS 10.15 Catalina or later for optimal compatibility.
- Stable Internet Connection: For reliable server hosting and remote access.
- Router Access: Necessary for configuring port forwarding and ensuring external devices can connect.
- Knowledge of Networking Basics: Understanding TCP/IP, DHCP, and port forwarding enhances the setup process.
- Security Measures: Strong admin password, firewall settings, and updates to safeguard your server.
- VPN Software or Service: Options include setting up own server software or using third-party tools like ZoogVPN for easier configuration.
Step-by-Step Guide to Setup VPN Server on Mac
1. Choose Your VPN Protocol
Start by selecting a VPN protocol that suits your security and performance needs. Common options include:
- OpenVPN: Highly secure, widely compatible, but requires additional setup.
- L2TP/IPsec: Built-in support in macOS, suitable for most users seeking a balance between security and ease of use.
- IKEv2: Modern protocol with excellent speed and security features.
For beginners, L2TP/IPsec is often the most straightforward to configure directly on Mac without additional software, though OpenVPN offers superior flexibility and security when properly configured.
2. Install and Configure VPN Server Software
If you prefer to use third-party tools, options like OpenVPN provide robust features. Here's how to proceed:
- Download and install the OpenVPN Access Server or similar software compatible with macOS.
- Follow the specific installation instructions provided by the VPN software developer.
- Configure the VPN server, including selecting security policies, port settings, and user access controls.
Alternatively, for a simpler setup using built-in macOS features, you can utilize the "Internet Sharing" or "VPN" configuration options, though these might be limited compared to dedicated server software.
3. Configure Network Settings and Port Forwarding
To allow external devices to access your VPN server, configure your router as follows:
- Access your router’s admin panel through its IP address (usually 192.168.1.1 or similar).
- Locate the "Port Forwarding" section.
- Forward the relevant port(s) used by your VPN protocol (e.g., UDP 1194 for OpenVPN, UDP 500 and 4500 for IKEv2/IPsec).
- Ensure your Mac’s local IP address is assigned a static lease to prevent IP changes that could break port forwarding.
4. Secure Your VPN Server
Security is paramount when hosting your own VPN server:
- Use Strong Passwords for administrator and user accounts.
- Implement Firewall Rules to restrict access to only necessary ports and IP ranges.
- Regularly update your server software and macOS to patch vulnerabilities.
- Enable two-factor authentication if supported, adding an extra layer of security.
5. Test the VPN Server Connection
Once everything is configured:
- Download the VPN client software compatible with your server setup (e.g., OpenVPN client).
- Import your server configuration files or set up the connection manually.
- Connect from an external network (e.g., via mobile data or a different Wi-Fi network).
- Confirm that you can access the internet securely and that your IP address reflects the VPN server location.
Using ZoogVPN to Simplify Setup VPN Server on Mac
If manual configuration seems daunting, ZoogVPN offers a user-friendly alternative for secure remote access without the technical hurdles. By subscribing to ZoogVPN, you can:
- Access Multiple Servers worldwide with a few clicks.
- Enjoy High-Speed Connections optimized for streaming, gaming, and browsing.
- Trust ZoogVPN Security Protocols including OpenVPN and IKEv2/IPSec for robust encryption.
- Set Up Personal VPN Features that mimic a private VPN server experience.
Best Practices for Maintaining Your VPN Server on Mac
Maintaining a secure and reliable VPN server involves consistent management:
- Regularly update your VPN software and macOS to patch vulnerabilities.
- Monitor access logs to detect unauthorized connection attempts.
- Change passwords periodically and enable account-specific access controls.
- Backup your configuration files and server settings regularly.
- Stay informed about new security developments and update your setup accordingly.
Conclusion: Empower Your Internet Experience with Your Own VPN Server on Mac
Mastering the art of setup vpn server on mac enables you to take full control over your online privacy, security, and remote connectivity. Whether for personal use or enterprise security, this process fosters a safer, more flexible internet environment. Leveraging tools like ZoogVPN or dedicated server software simplifies the technical aspects while maintaining high standards of security and performance. Don’t compromise on your digital safety—install, configure, and enjoy a privately secured digital world today.
Remember, a well-configured VPN server on Mac achieves more than just privacy; it opens avenues for secure remote work, protects sensitive data, and enhances your overall internet experience. Invest time now to set it up properly, ensuring peace of mind and robust security for years to come.